Lowther Hill by Thirstane and Wether Hill | |||||
Click
on the left side of the image to go back to the previous image and on
the right side of the images to go to the next image. |
|||||
![]() |
|||||
25 This picture is out of sequence.
It was actually taken earlier in the day while we were ascending Thirstane
Hill but it is useful here because it allows us a view east up the length
of the wee valley between Wether Hill and Steygail into which we were descending
in picture 24. The red asterisk in the above picture shows roughly where
Sandy was in picture 24. 
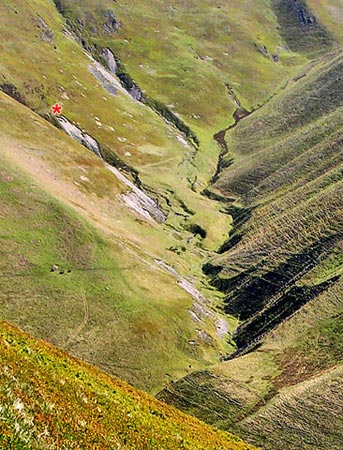
If you had gone anti-clockwise onto Steygail first (yellow route on Page 01) and then decided to come off down to the Enterkin Burn as in the green escape route shown on the map on that page, you would come down this valley from the top right hand corner of the above picture. |
|||||
![]() |
![]() |
![]() |
![]() |
![]() |
![]() |